If you’re looking to import your favorite songs to your Android device and retune them to any of the Solfeggio frequencies or 432Hz, you’ve come to the right place. In this guide, we’ll walk you through the process step by step, making it easy for you to enjoy retuned music using the Solfeggio Frequency Player and HZP apps.
Step-by-Step Guide to Importing Music Files
Step 1: Connect Your Android Device
For both Windows and Mac users, the first step is to connect your Android device to your computer using a USB cable. Ensure your device is unlocked and ready for data transfer.
Step 2: Enable File Transfer Mode
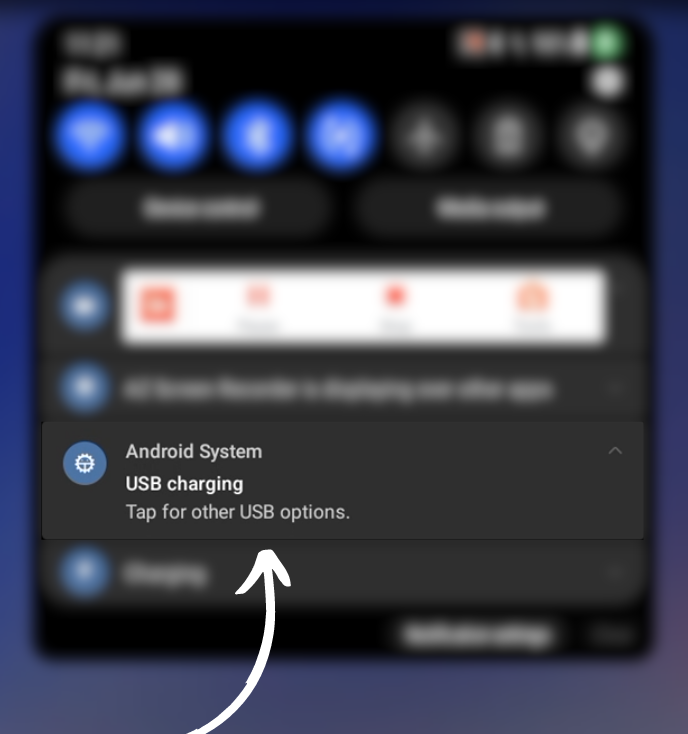
Once connected, you’ll see a notification on your Android device. Tap on this notification and select the “File Transfer” option from the USB settings. This will allow your computer to access the files on your Android device.
Step 3: Transfer Music Files
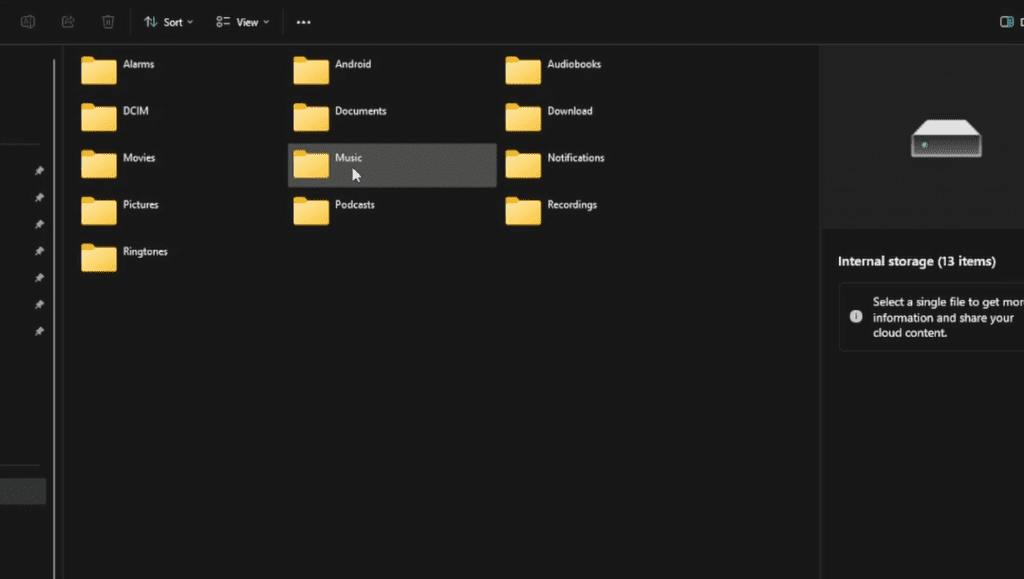
Next, open your file browser on your computer. You should see your Android device listed. Navigate to the internal storage of your device and find the “Music” folder. Simply drag and drop your desired music files into this folder. Alternatively, you can copy and paste the files if you prefer.
Step 4: Verify the Transfer
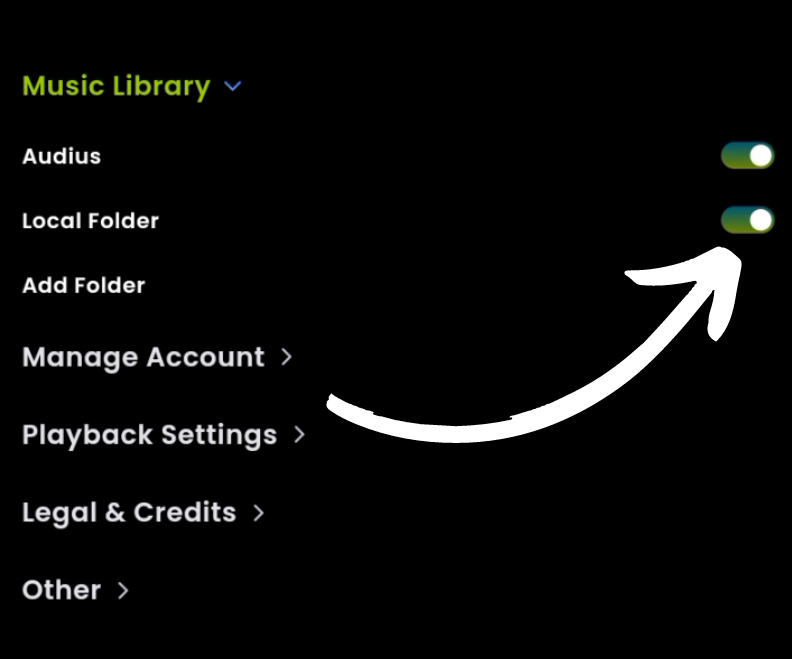
Once the files are transferred, just make sure you have “Local Files” enabled within HZP and Solfeggio Frequency Player. You should see your newly added music files listed in the local library of the Solfeggio Frequency Player and HZP apps.
Using SD Cards
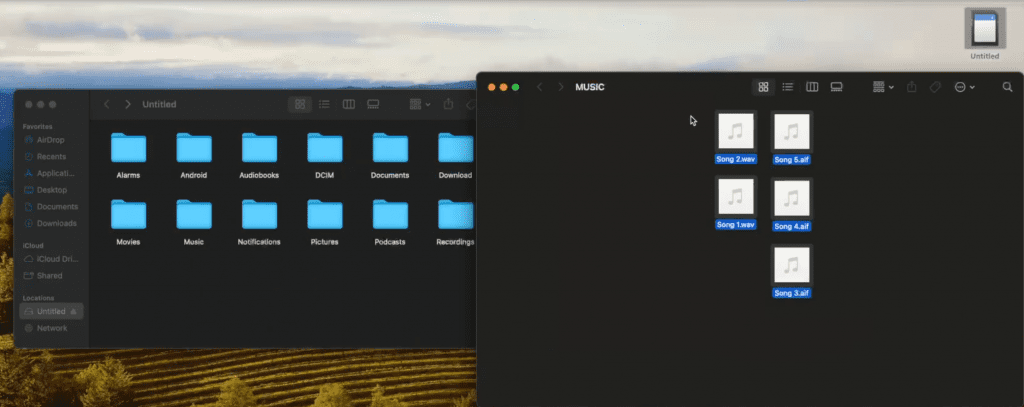
If your Android device supports SD cards, you can also transfer music files directly to the SD card. Simply insert the SD card into your computer’s card reader, drag the music files onto the SD card, and then insert the card back into your Android device. The apps will recognize the files on the SD card, allowing you to access and retune them easily.
Retuning Music with Solfeggio Frequency Player and HZP Apps
Now that your music files are on your Android device, you can utilize the powerful retuning functions of the Solfeggio Frequency Player and HZP apps.


